


The Best Human-Safe Deep Cleaning Checklist For Your Home
It's that time of year again - time to spring clean!
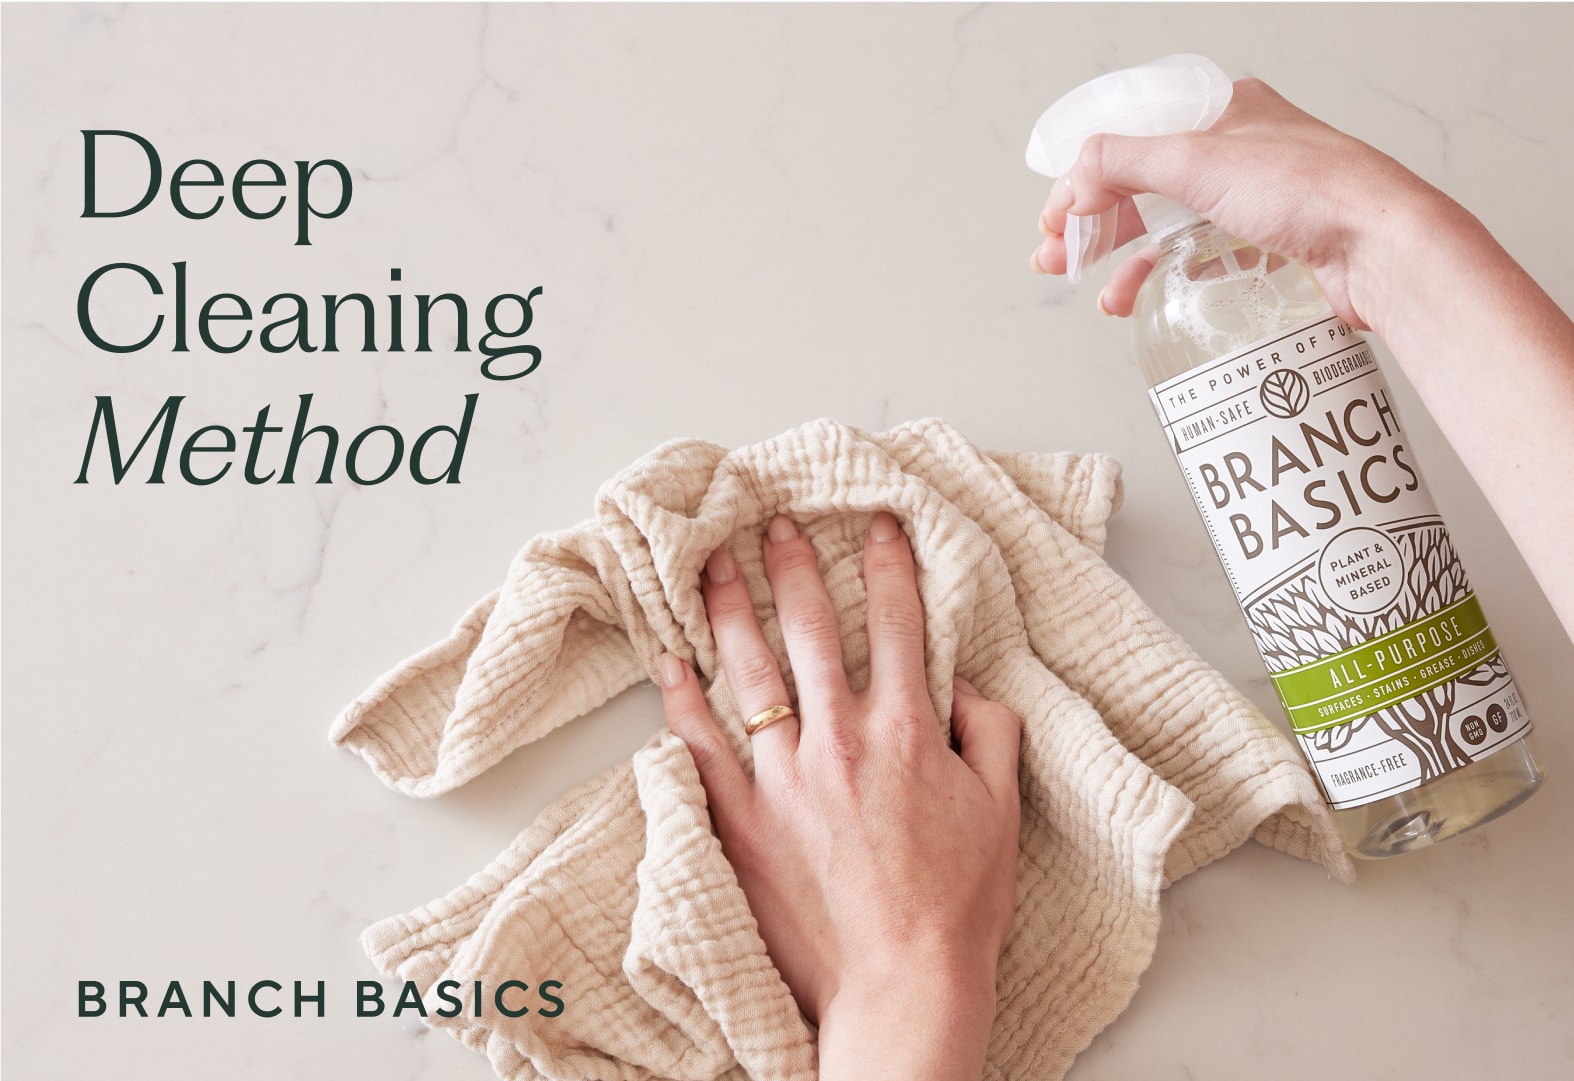
The Branch Basics deep cleaning checklist is perfect for a new space or a yearly clean-up of your current space for years.
You may not realize it, but the average indoor air quality in a home is more polluted than outdoor air.
Even when a space looks “clean”, there are often residues in the walls and ceiling.
This human-safe deep cleaning addresses both surface cleaning and air quality cleaning to remove not only visible dirt and grime, but invisible toxic residues as well.
Toxic residues are made up of two components - VOCs and SVOCs.

What is a VOC?
A VOC is a volatile organic compound. Products, particularly house paint, are sometimes advertised as “low-VOC”.
VOCs are easily recognizable because they have an odor and often carry a strong smell - this is usually the cue that you need to air out a space.
VOCs are aromatic compounds that off-gas readily into the air and are associated with a range of health effects.
VOCs emit at peak levels when first installed, with declining emission levels as time goes on. Wet applied products like paint and finishes give off VOCs very intensely for the first few days or weeks, then taper off.
VOC emissions from solid materials such as flooring have much lower levels of outgassing, but taper off more slowly than wet applied materials and may contribute to long term air quality issues.
What is an SVOC?
SVOCs are semi-volatile organic compounds that ride on dust, are odorless, and give no warning that they are present. They migrate from their source into the breathing space by attaching to dust particles.
While VOCs release quickly into your environment and decrease over time (the strong smell that immediately escapes from products you use), SVOCs release very slowly and increase over time, which makes them an insidious underminer of health.
SVOC levels can persist for years indoors because of their slow rate of release from sources.
In addition, the SVOCs stick to surfaces and can persist even though the source is removed.
Some SVOC sources commonly found in homes are phthalates (plasticizers/PVC and vinyl floors, vinyl shower curtains, toys made of pliable plastics), biocides, pesticides, flame-retardants (furniture, beds, electronics), and polycyclic aromatic hydrocarbons (PAH’s) (asphalt containing materials, cigarette smoke, vehicle exhaust).
Related Reading: Phthalates: Where Are They Hiding & How to Go Phthalate-Free
Immediate Benefits Of Deep Cleaning
HEPA vacuuming will immediately reduce your exposure to particulates such as dust, dirt, animal dander, allergens and SVOC’s.
Washing down all surfaces with Branch Basics removes toxic residues, breaks down and neutralizes synthetic chemicals (VOCs) imbedded in porous surfaces like drywall, and improves air quality in the room.
Using a Ladybug Dry Steam Cleaner is an option to consider. It takes your deep cleaning to next level especially if you have embedded fragrance and other allergens in your home.
A deep clean will also remove lingering SVOCs that stick to surfaces such as the ceiling, walls, and floors.
Many will immediately feel and sense that the air quality has improved. And if there was a specific irritant to that person that was removed, the symptoms should no longer be present.
Precaution: This human-safe deep cleaning method may stir up allergens, synthetic chemicals, and pesticides into the air depending on the history of the space. If you are an allergy sufferer, have asthma, or otherwise are feeling sick, we recommend you ask someone else to do the deep cleaning, as this process results in possible exposures. Babies, children, elderly or those with weakened immune systems should not be present during a deep clean.
To learn more about how to clean as a person with allergies, check out the Home Cleaning Guide for Allergy Sufferers.
The Branch Basics Deep Cleaning Checklist
Now that you know why this process is so important, let's get started!
Materials Needed
- Branch Basics Concentrate
- HEPA vacuum
- 2 buckets
- Sponge mop (that squeezes out water) or microfiber mop
- 2-3 clean rags, sponges or microfibers
- 1-2 spare towels that you won’t mind getting dirty
- Ladder or step ladder to reach the ceiling
- Face mask that filters non-oily and oil-based particles (optional but recommended)*
- Ladybug Dry Steam Cleaner - important next level chemical free option to disinfect, remove embedded fragrance, and allergens.
- A friend or cleaning partner (to make things go more quickly!)
*If you feel like toxic chemicals will be released from your ceilings, floors, and walls because it is a contaminated space or you have been using fragranced products, then hiring a professional abatement company would be recommended. If there is any question about contamination issues and you do not hire a professional, then further protection such as a respirator should be used. Do not do this process if you have chronic health issues. Avoid the area until the liberated VOCs and dust have been cleared.

In this human-safe deep cleaning method, we will explain in detail how to thoroughly clean a room.
We recommend doing this process barefoot or in clean socks so that you don’t track toxins around your space as you clean.
This process will take roughly 2-4 hours for one person to complete one furnished, average sized room. An unfurnished space will take about an hour.
Here are the four basic steps we will cover in this human-safe deep cleaning tutorial:
- Tidy up your space
- HEPA vacuum all surfaces in the room
- Wipe all surfaces using Branch Basics. If desired, consider Dry Steam Cleaning Option. Dry surfaces with a towel.
- Ventilate cleaned areas with box fans and open windows (if weather permits) so the VOCs released during cleaning will be removed from the home. Turn on exhaust fans in the home to help evacuate the liberated VOCs.
Step 1: Tidy Up The Space

Remove all clutter from the room and only leave what belongs; donate or toss what you do not need.
Clutter piles are not only magnets for dust bunnies, but navigating around them makes deep cleaning more challenging.
Did you know that pesticides and synthetic chemicals love to hide in dust bunnies?
Read more about why household dust matters to your health and what it really is.
Step 2: HEPA Vacuuming

Once you have the room looking organized, gather your vacuum and ladder and head to the corner farthest from the doorway to the rest of your home.
You’ll work from up to down, in to out, finishing at the entrance to the room so you can leave it undisturbed when you are finished.
Starting with the ceiling and moving down to walls and floors, HEPA vacuum all horizontal and vertical surfaces using careful, overlapping strokes by 30%.
Make three passes over each area.
Vacuum all surfaces, trim, items, and furnishings: sides, underneath and back of tables, chairs, furniture, desks, lamps, and any other furniture.
The goal with all of these steps is to work with gravity and not to backtrack any areas you’ve already cleaned.
This is why it’s best to start at the ceiling, work down the walls, and finish with the floors, as the process releases dust and dirt that falls to the ground.
This is why a mask can be recommended.
Related Reading: Branch Basics Ultimate Guide to Synthetic Chemical-Free Floor Cleaning
Step 3: Wipe Down
After you have vacuumed the room, prepare your two buckets for wiping everything clean.
- Your first bucket will be the water with Branch Basics solution: Use 1/2 teaspoon of Branch Basics Concentrate for each gallon of water*. This is about 50 drops of concentrate to a gallon or 5-7 drops per 2 cups of water. More is not better!
- The second bucket is a rinse bucket: Just fill it with clean water.*
*Consider distilled or RO water (if you have really hard water) for wiping down ceilings and walls so there is no mineral deposit. You can do a test on an inconspicuous area of your walls to see if your tap water, when applied and dried, leaves streaking or marks. This is not usually an issue, but better to be sure and test. For floors and other surfaces, tap water is fine.
Before you start wiping down large areas, test a small area of all surfaces to be cleaned with this human-safe solution to make sure it doesn’t affect the finish or paint.
Thoroughly wipe all large horizontal and vertical hard surfaces, starting with ceiling, then walls, then floors.
Be sure that surface looks slightly damp after wiping, but not truly wet. Make three passes over each area.
As you need more Branch Basics solution, first rinse the mop in the clean water bucket, squeeze out the water, then dip again in the Branch Basics solution.
You will notice the “clean” water bucket will start turning gray quickly. You may need to empty this one and fill with fresh before you complete the process.

After you have washed ceilings, floors and walls, use your sponge or rag to do the same process to your trim, corners, and all furniture.
For any small pieces and all solid, non-porous items such as figurines and lamps, you can first spray the rag with Branch Basics All-Purpose and then wipe clean.
Taking a clean towel, quickly dry off any areas where they may still be extra moisture, particularly wet spots on the walls or floor.
You may also want to dry off any objects that you don’t want to leave to air dry.
Related Reading: Is Branch Basics a Sanitizer or Disinfectant?
Optional: Consider a deep clean of the ceilings and walls and other surfaces with the Ladybug Dry Steam Cleaner. This offers a next level deep clean option for chemical free disinfecting, fragrance/odor removal, cleaning of plush stuffed animals in your children's bedrooms, and allergen removal.
Step 4: Ventilate and Exhaust the Air
Doing a deep clean releases VOCs and particulates into the air. Think about how you might start sneezing when you clean up a closet. Dust is stirred up when you clean.
Vacuuming the ceiling and walls releases a lot of dust. If this is your first deep clean, this dust may contain VOCs and SVOCs. If you use a Ladybug Dry Steam Cleaner, the heat accelerates the release of VOCs.
The released chemicals from deep cleaning must be cleared from the home through air movement and ventilation so they don't incorporate once again into materials.
If weather permits, open windows and have a box fan to create air movement and circulate the air. Turn on exhaust fans (bathroom and kitchen) to help draw the air out.
Continue this procedure until the air is clear. Air scrubbers and air cleaners can also be used to help remove contaminants from the air.
Cleaning Maintenance
As you can tell, this process is not designed for weekly cleaning.
When you thoroughly clean a room using this human-safe deep cleaning method, you shouldn’t have any reason to go through the process again until the next year.
To keep your space clean until then, we recommend:
- Remove your shoes when you enter your home. Shoes track synthetic chemical residues and pesticides (not to mention mud or other grime) through your living space, leaving particulates on surfaces and in the air. Remove your shoes and guests to remove theirs.
- Read more about why we recommend removing shoes indoors, and try to implement a no-shoes policy inside your home.
- Aim to vacuum thoroughly at least once a week. This will help keep down SVOC levels and reduce exposure to particulates. Remove as many sources of SVOCs as you can. When you do vacuum, opt for a sealed HEPA vacuum. HEPA vacuums are much more effective at containing particulates and will not create a dust storm as you try to vacuum and remove dirt and dust.
- Limit clutter as much as much as you can. As we’ve mentioned, clutter piles are the most hospitable homes for dust bunnies, which may be tidy piles of pesticides and synthetic chemical residue.
Toss the Toxins with Branch Basics
To have a healthy lifestyle, it is important to have a clean, human-safe home. To make the switch, check out our 8 Tips For Transitioning to Non-Toxic Living.
Looking to do a human-safe deep clean of your home, office or new space? The Branch Basics Starter Kit has you covered!
Categories

Marilee Nelson
Marilee Nelson is an Environmental Toxins expert who has spent nearly 30 years advocating for the chemically-sensitive and chronically-ill. She is a Board Certified Nutritionist, Certified Bau-Biologist and Bau-Biology Inspector and specializes in Food As Medicine. She has helped thousands of families and individuals identify, heal and recover from toxic exposures and is on a mission to revolutionize the way American families view their health.


